
Install WireGuard on Windows
1. Download WireGuard
To connect to OVPN you first need to download WireGuard.
2. Install WireGuard
To begin installation, double-click the file you downloaded in the previous step. Follow the instructions on the screen to go through the installation process.
Use OVPN if security is of importance
Your privacy and security is the core focus of OVPN. That's why we've implemented a multi-layered security model.
Learn more3. Download the configuration you want
4. Import files
Import the configuration files by clicking on Add tunnel in the WireGuard application. Select the downloaded configuration file(s) or the downloaded archive. 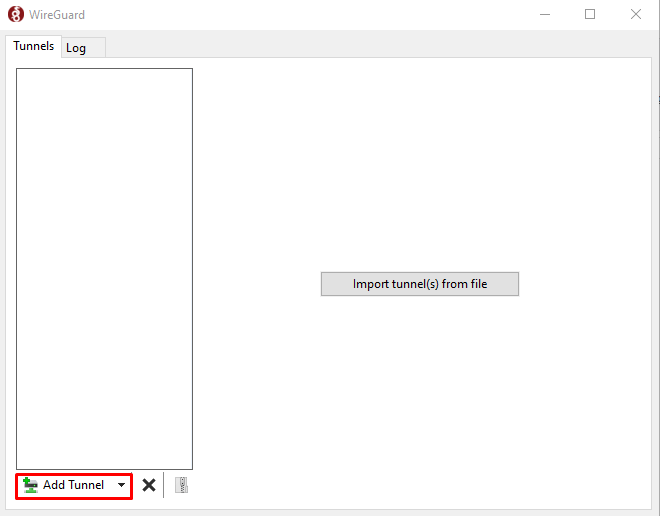
5. Activate killswitch (Optional)
Click on Edit and make sure Block untunneled traffic (kill-switch) is selected.
6. Connect to OVPN
Click on Activate in the WireGuard application in order to connect to OVPN. 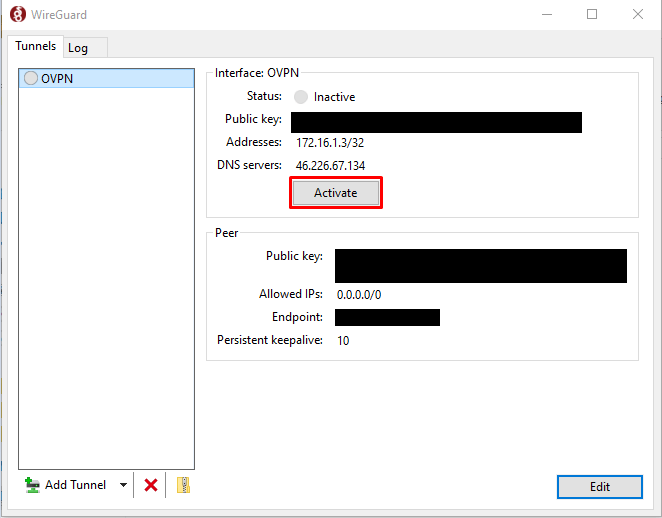
You should now be connected to OVPN and be able to browse the internet safely. To make sure everything was set up correctly, please check the dashboard to verify that you are connected.
Troubleshooting
In case you get connected to OVPN in the WireGuard application, but don't have any internet connectivity, please read the troubleshooting article for WireGuard.
If your configuration files don't get imported, read our article about adding your private key manually in the configuration files.