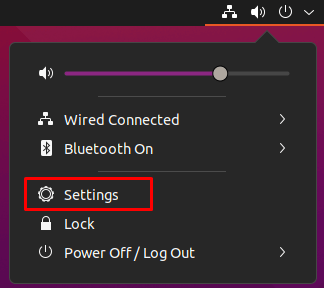
Click the network icon in the upper-right corner of the activity field and select Settings.
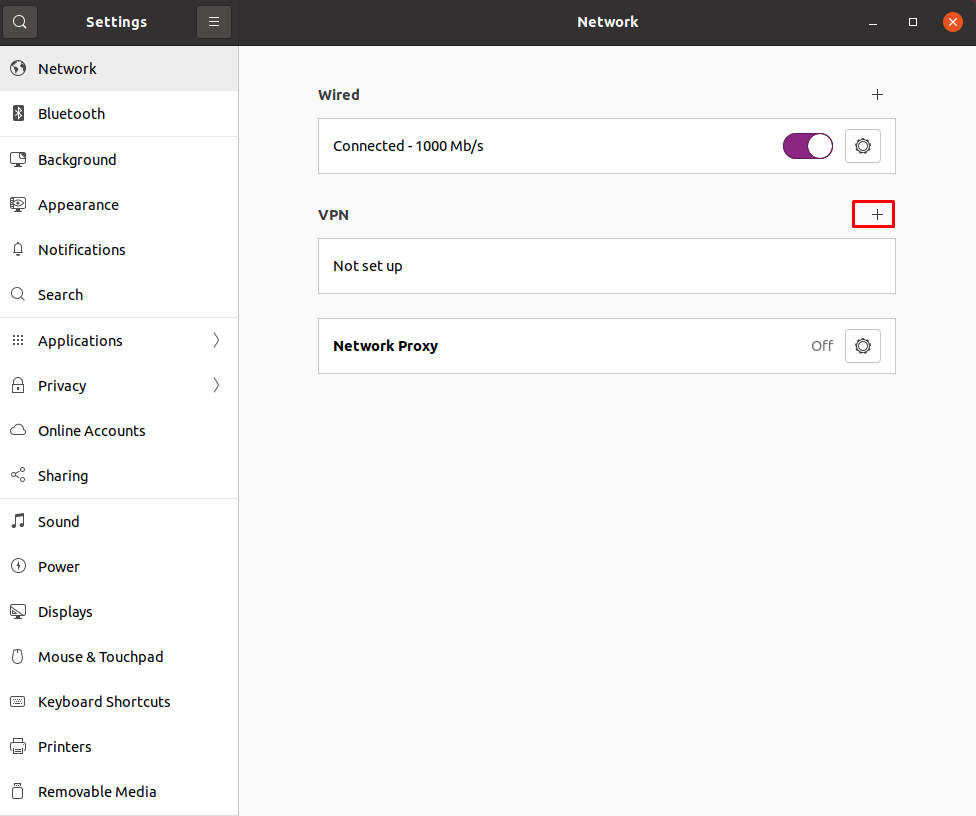
Under the VPN field, click the + sign
Click on Import from file...
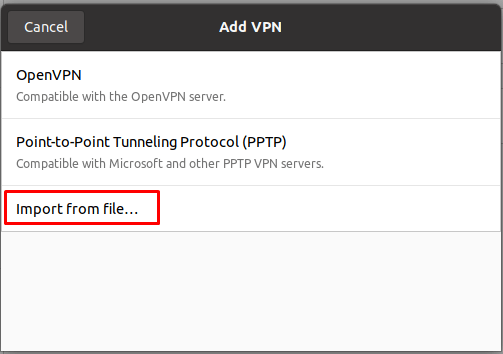
Select the file you downloaded in the previous step. By default, it should be saved in the Downloads directory.
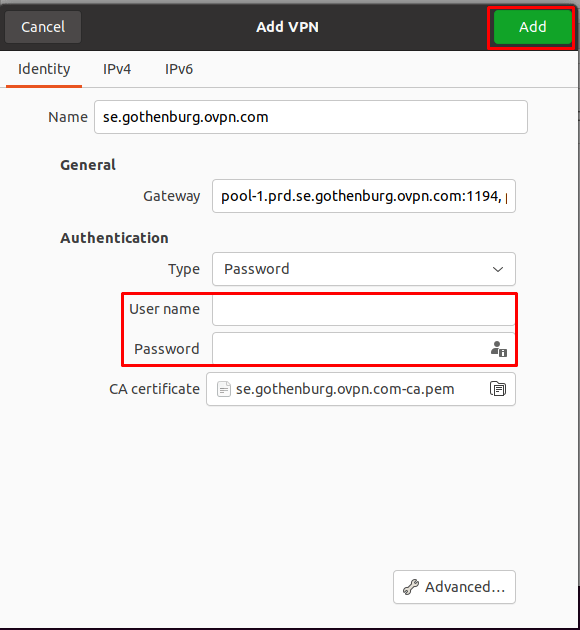
In the new window that pops up, enter your Username and Password. Leave everything else as-is.
Click on Add
Your privacy and security is the core focus of OVPN. That's why we've implemented a multi-layered security model.
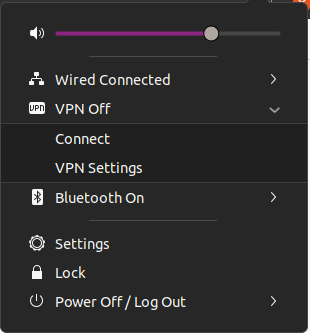
Learn moreTo connect to OVPN, click on the network icon in the upper-right corner of the activity field.
Click on VPN Off
Click on Connect
After a few seconds the network icon should turn to a VPN icon if the connection is successful.
To configure the VPN to start automatically on boot, open the terminal. In the terminal, type:
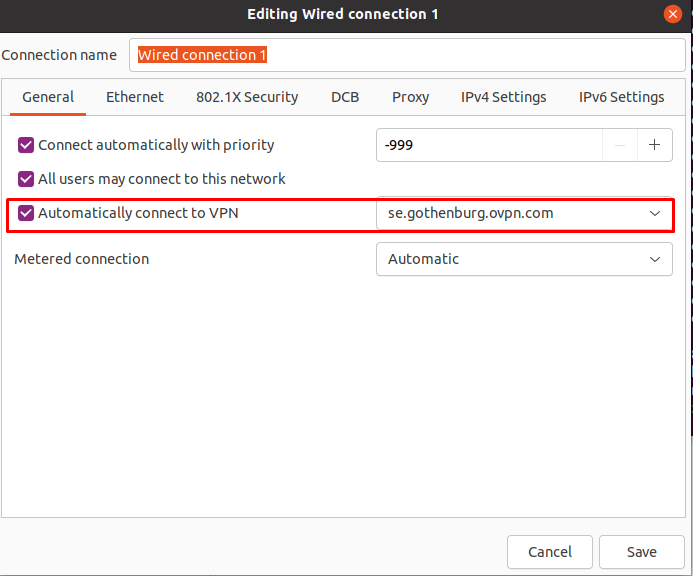
nm-connection-editorThis will open a new window. In the new window, select your connection type (usually Wired Connection 1 or Wireless Connection 1) and go to the General tab.
Tick the box next to Automatically connect to VPN and select the VPN connection you created previously.
Click on Save.
You should now be connected to OVPN and be able to browse the internet safely. To make sure everything was set up correctly, please check the dashboard to verify that you are connected.
